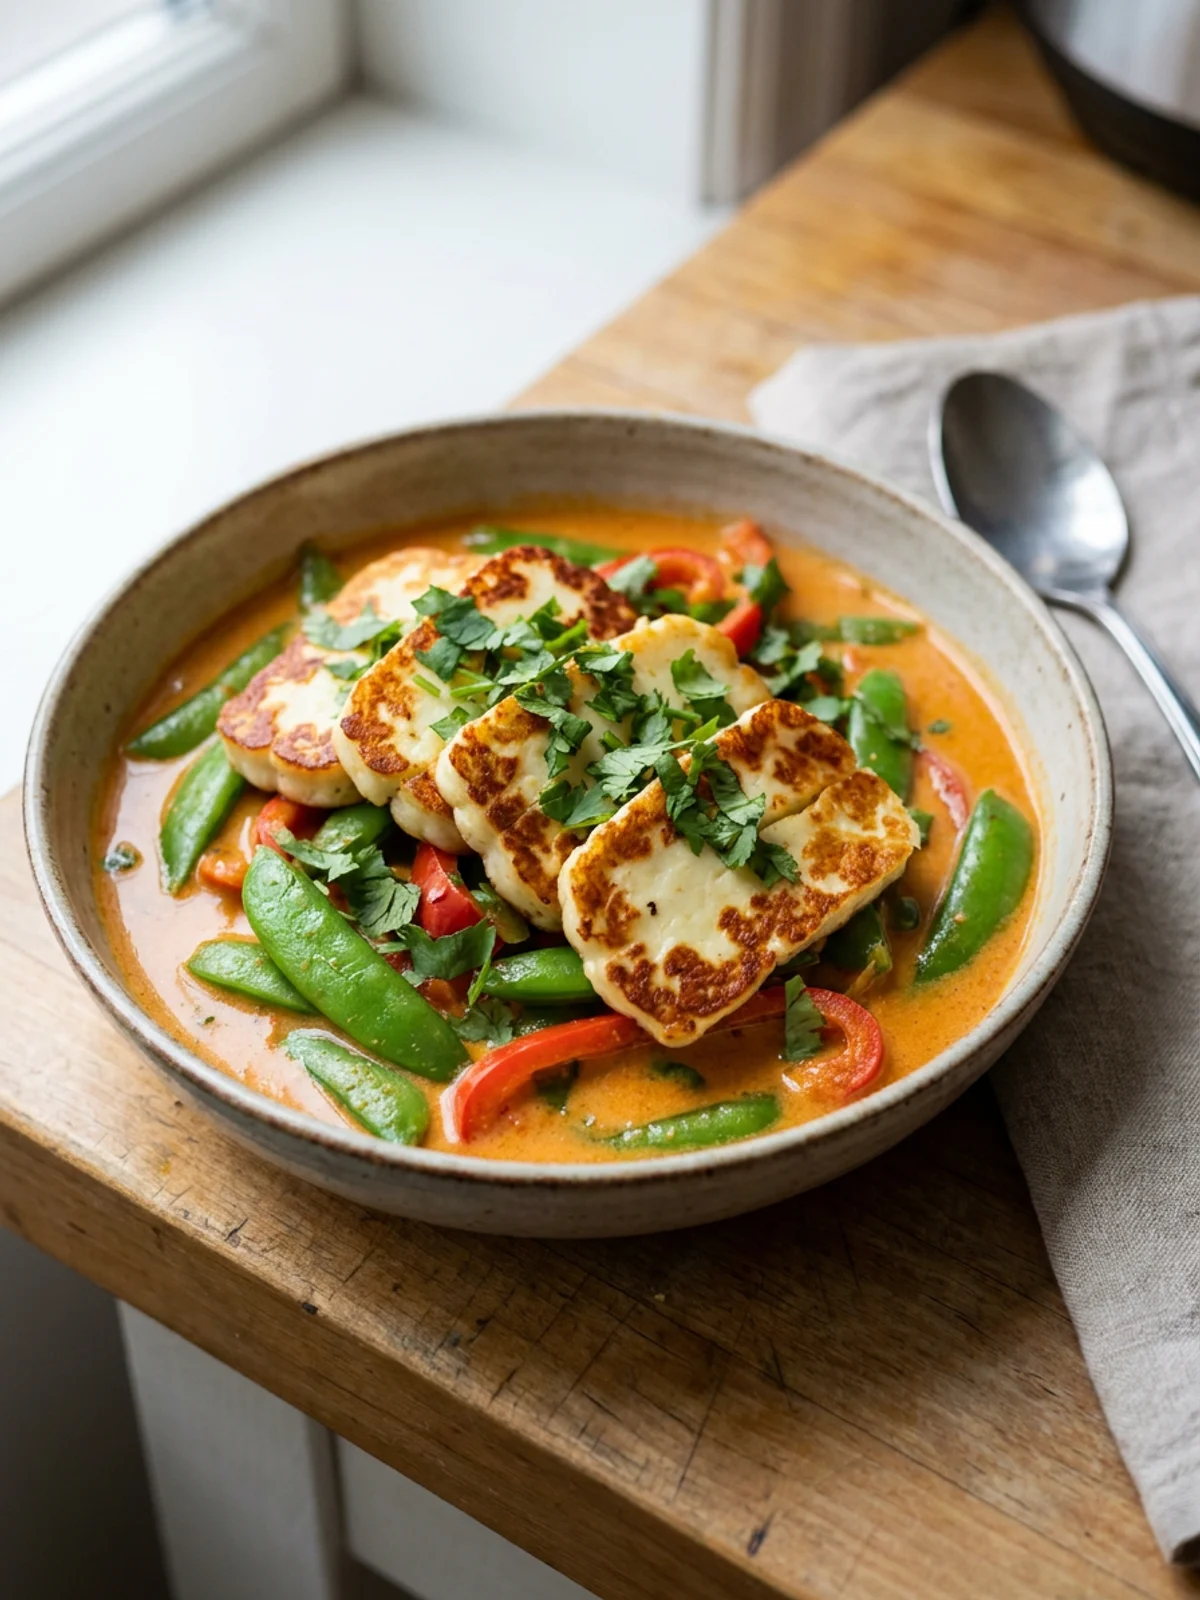

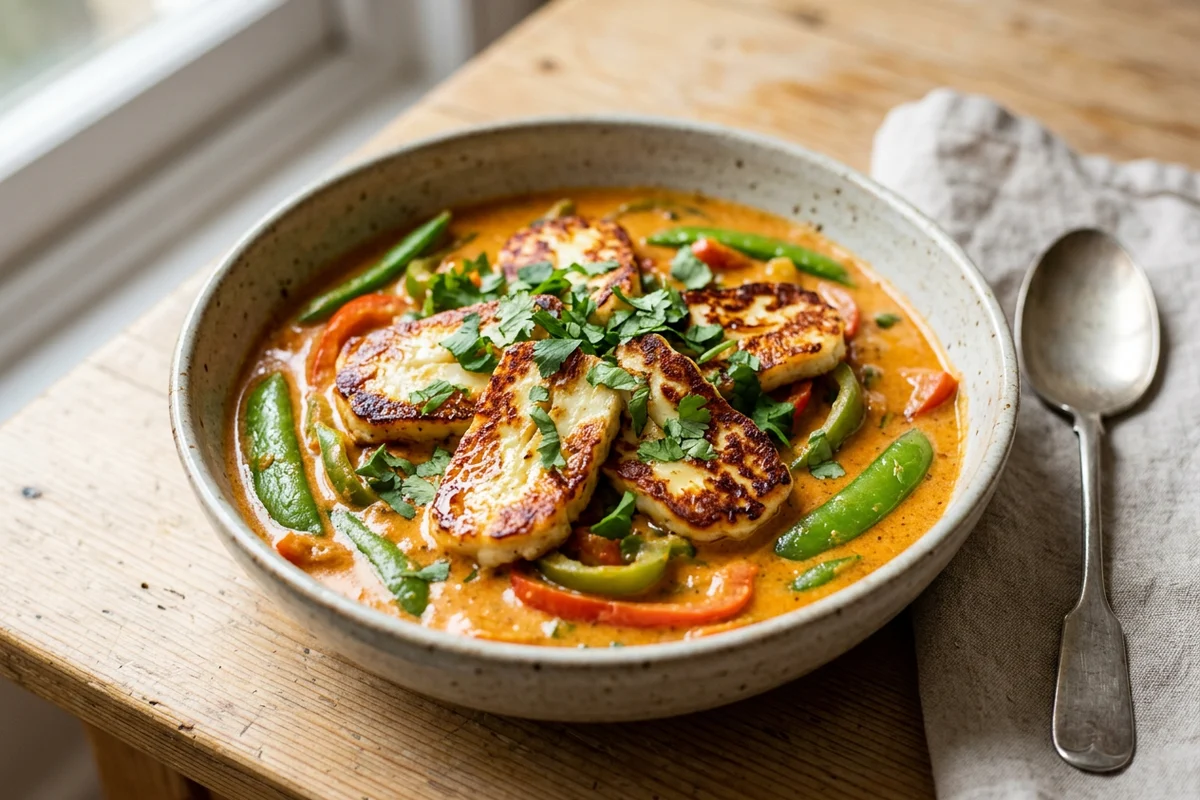
This halloumi curry features pan-fried salty cheese in a creamy, fragrant coconut curry sauce. It’s a quick vegetarian meal packed with fresh vegetables like snap peas and bell peppers.
You can have this dish on the table in about 30 minutes, making it a great option for a busy weeknight. The combination of textures from the crisp cheese and rich sauce is very satisfying.
Why You’ll Love Halloumi Curry
- Cooking the curry paste, garlic, and ginger in oil before adding liquid deepens their flavor and fragrance.
- Searing the halloumi separately gives the cheese a delicious golden-brown crust and prevents it from getting soft in the curry sauce.
- Adding fresh lime juice and cilantro at the end brightens up the rich curry and adds a final layer of flavor.
Halloumi Curry Ingredients
- Halloumi: This is a firm, briny cheese from Cyprus that can be grilled or fried. Find it in the specialty cheese section of most grocery stores.
- Thai Red Curry Paste: This flavorful paste is the foundation of the sauce. Brands vary widely in spice level, so start with less and add more to taste.
- Full-Fat Coconut Milk: Use canned, full-fat coconut milk for the creamiest sauce. Do not use coconut milk from a carton, as it is too thin.
- Tamari: This is a Japanese soy sauce that is typically gluten-free. You can use regular soy sauce if you don’t need the dish to be gluten-free.
- Sugar Snap Peas: These provide a sweet flavor and crisp texture. You can substitute with green beans or snow peas if you prefer.
Exact quantities are in the recipe card below.
How to Make Halloumi Curry
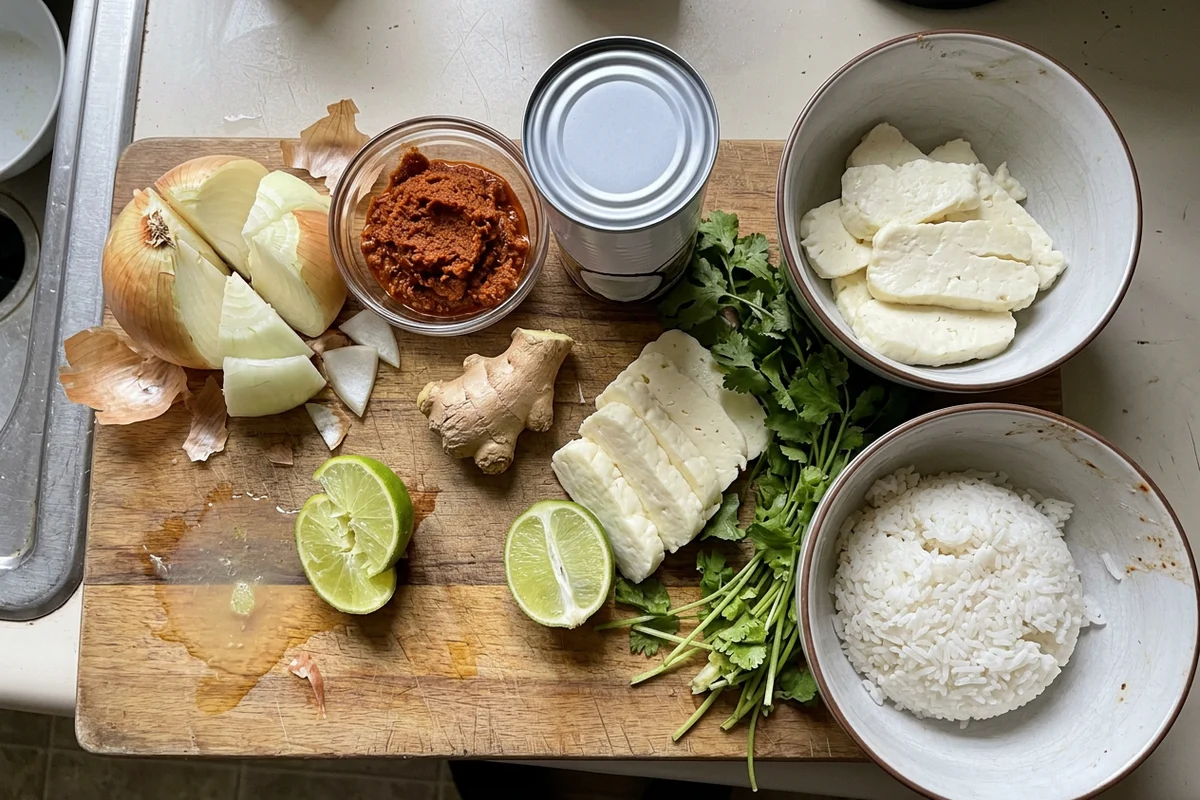
Step 1: Start the Curry Base
First, cook the onion in a large skillet until it’s soft. Add the curry paste, garlic, and ginger, cooking them for a minute to release their aromas. Pour in the coconut milk and water, then let the sauce simmer gently for about 10 minutes.
Step 2: Sear the Halloumi
While the curry simmers, cook the halloumi. Heat a little oil in a separate nonstick pan and fry the cheese slices for a couple of minutes on each side. You’re looking for a nice golden-brown crust. Set the cooked halloumi aside.

Step 3: Finish and Serve
Add the snap peas, bell pepper, tamari, and sugar to the curry sauce. Let it cook for just a few minutes so the vegetables stay crisp. Turn off the heat, stir in the lime juice and cilantro, and serve the curry over rice, topped with the seared halloumi.
Storage Tips for Halloumi Curry
Store leftover curry in an airtight container in the refrigerator for up to 3 days. For the best texture, store the seared halloumi separately and add it to the curry after reheating. Reheat the curry gently on the stovetop or in the microwave. Freezing is not recommended, as the vegetables can become mushy upon thawing.
Expert Tips for Halloumi Curry
- The spice level of Thai red curry paste varies by brand. Start with 4 tablespoons and add more after simmering if you prefer more heat.
- Halloumi can be quite salty. If you are sensitive to salt, you can soak the slices in cold water for 20 minutes, then pat them completely dry before frying.
- For the creamiest sauce, use full-fat, canned coconut milk. Light coconut milk will result in a thinner curry.
- To make this dish gluten-free, be sure to use tamari instead of soy sauce.
What to Serve with Halloumi Curry?
Serve this curry hot over a bed of fluffy white or brown rice to soak up all of the flavorful sauce.
Halloumi Curry Recipe FAQs
Can I make this halloumi curry vegan?
To make it vegan, substitute the halloumi with firm or extra-firm tofu that has been pressed and pan-fried. Also, check that your Thai red curry paste is vegan, as some brands contain shrimp paste.
What other vegetables can I use?
This curry is versatile. You could add broccoli florets, chopped green beans, or cubes of sweet potato. Add heartier vegetables like sweet potato earlier in the simmering process to ensure they cook through. Add quick-cooking vegetables like spinach at the very end.
My halloumi seems very salty. What can I do?
Halloumi is stored in brine, and its saltiness can vary. To reduce the salt, you can soak the slices in a bowl of cold water for 20 to 30 minutes before cooking. Be sure to pat the slices completely dry with a paper towel before frying to ensure they get crispy.

Halloumi Curry
Ingredients
- 2 tbsp neutral oil like grapeseed or coconut, divided
- 1 medium yellow onion diced
- 4 to 6 tbsp Thai red curry paste
- 4 cloves garlic minced
- 1 tbsp fresh ginger grated
- 1 can full-fat coconut milk 13.5-ounce / 400 ml
- 1/2 cup water 120 ml
- 8 ounces halloumi sliced 1/4-inch thick, 225 g
- 8 ounces sugar snap peas 225 g
- 1 red bell pepper thinly sliced
- 1 tbsp tamari or soy sauce
- 1 tbsp brown sugar
- 1 tbsp fresh lime juice
- 1/2 cup fresh cilantro chopped
- Cooked rice for serving
Instructions
- In a large skillet or Dutch oven, heat 1 tablespoon of oil over medium heat. Add the onion and cook until softened and lightly browned, about 5 minutes.
- Stir in the Thai red curry paste, garlic, and ginger. Cook, stirring constantly, for 1 minute until fragrant.
- Pour in the coconut milk and water, stirring to combine everything. Bring the sauce to a gentle simmer and let it cook for 10 minutes for the flavors to develop.
- Meanwhile, heat the remaining 1 tablespoon of oil in a nonstick skillet over medium-high heat. Place the halloumi slices in a single layer and cook for 1 to 2 minutes per side, until golden brown and crisp. Set aside.
- To the simmering curry, add the sugar snap peas, bell pepper, tamari, and brown sugar. Cook for about 3 minutes, until the vegetables are tender-crisp.
- Remove the curry from the heat. Stir in the fresh lime juice and chopped cilantro.
- Taste the curry and adjust seasoning if needed, adding more curry paste for heat or sugar for sweetness.
- Divide cooked rice and curry among four bowls. Top each bowl with the seared halloumi slices before serving.