


Red velvet thumbprint cookies combine a mild chocolate dough with a tangy cream cheese center. The dough gets its color from a small amount of food coloring and is rolled in coarse sugar for a crisp exterior.
You can prepare the dough and the filling in under half an hour. The cookies are baked in two stages to ensure the cream cheese center sets properly without overcooking the edges.
Why You’ll Love Red Velvet Thumbprint Cookies
- Rolling the dough in coarse sugar adds texture and prevents the cookies from sticking to the pan.
- Making the indentation before the first bake gives the cookies a uniform shape and creates a sturdy well for the filling.
- Baking in two stages allows the cookie base to set so the wet cream cheese mixture does not make the dough soggy.
Red Velvet Thumbprint Cookies Ingredients
- Unsalted butter: This controls the salt level in the dough. Soften it on the counter before mixing.
- Red food coloring: Gel or paste works better than liquid drops. It provides a strong color without altering the dough consistency.
- Cocoa powder: Use standard unsweetened baking cocoa. Dutch-processed cocoa will also work but might make the red color slightly darker.
- Coarse sugar: Often sold as turbinado or sanding sugar. It gives the outside a slight crunch.
- Cream cheese: Use full-fat block cream cheese. Tub cream cheese contains too much water and will make the filling runny.
Exact quantities are in the recipe card below.
How to Make Red Velvet Thumbprint Cookies
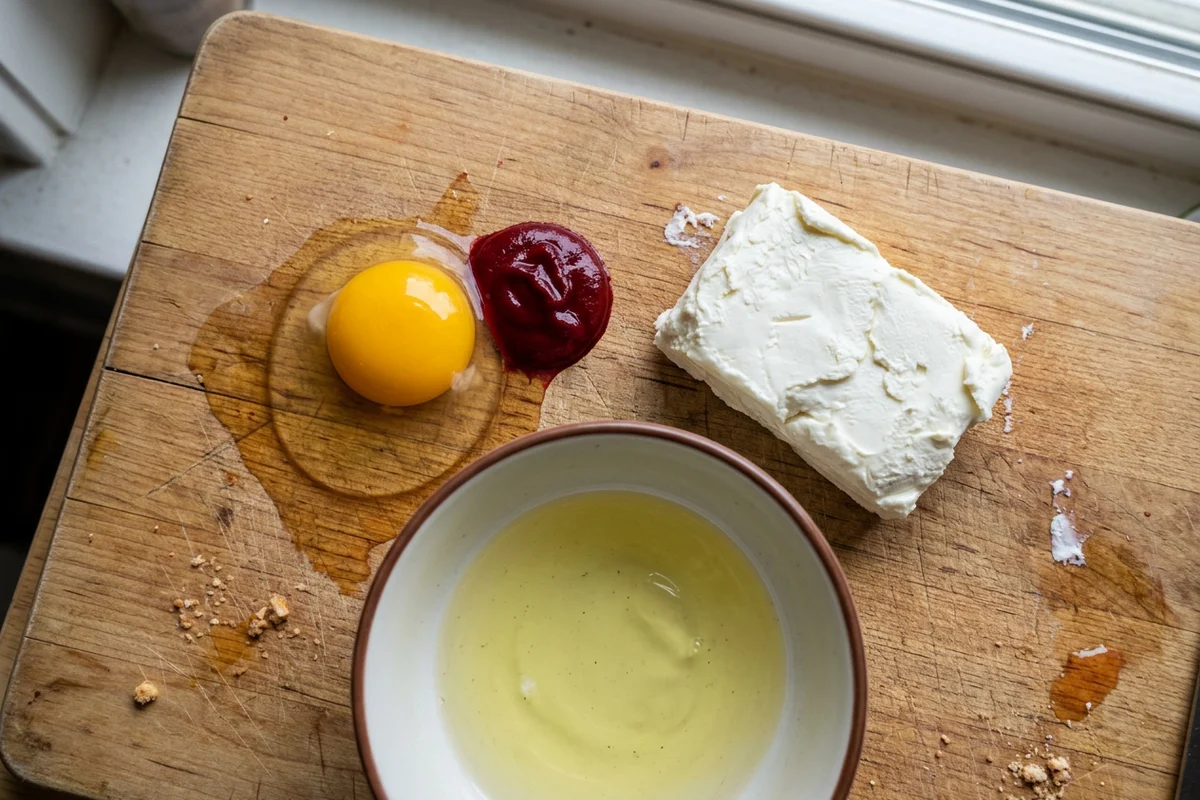
Step 1: Mix the red velvet dough
Beat the softened butter and sugar together until pale. Mix in the egg yolk, vanilla, and food coloring, then gradually blend in the flour and cocoa powder.
Step 2: Shape and indent
Roll the dough into small balls and coat them in coarse sugar. Place them on a baking sheet and press a well into the center of each cookie.

Step 3: Parbake and make the filling
Bake the cookies briefly. While they are in the oven, blend the cream cheese, sugar, egg white, vanilla, and salt until smooth.
Step 4: Fill and finish baking
Reinforce the indentations if they puffed up during the first bake. Add a spoonful of filling to each cookie and bake until the centers are fully set.
Storage Tips for Red Velvet Thumbprint Cookies
Store the baked cookies in an airtight container in the refrigerator for up to 5 days. You can freeze them for up to 2 months. Thaw them in the refrigerator overnight before eating.
Expert Tips for Red Velvet Thumbprint Cookies
- Gel food coloring produces a deeper color than liquid coloring without adding excess moisture to the dough.
- Make sure your butter and cream cheese are softened to room temperature so they blend smoothly without lumps.
- Egg dishes must reach an internal temperature of 160°F (71°C) to be safe to eat.
- If the dough feels too soft to shape, chill it in the refrigerator for 15 minutes before rolling.
What to Serve with Red Velvet Thumbprint Cookies?
Serve these cookies with a glass of cold milk or a cup of hot coffee.

Red Velvet Thumbprint Cookies Recipe FAQs
Can I use liquid food coloring instead of gel?
Liquid food coloring works, but you might need to use more of it to get a strong red color. This can slightly alter the texture of the dough.
Why did my cookies crack when I pressed the center?
Some cracking is normal for thumbprint cookies. If they crack too much, the dough might be too dry. Try rolling the balls tightly until smooth before pressing.
Do these cookies need to be refrigerated?
Yes, because they contain a cream cheese filling. Keep them in the refrigerator and let them sit at room temperature for 10 minutes before serving if you prefer them soft.

Red Velvet Thumbprint Cookies
Ingredients
- 1 cup unsalted butter softened, 226 g
- 1/2 cup granulated sugar 100 g
- 1 large egg yolk
- 1 teaspoon vanilla extract
- 1/2 teaspoon red gel or paste food coloring
- 2 cups all-purpose flour 240 g
- 2 tablespoons unsweetened cocoa powder 10 g
- 1/2 cup coarse sugar 100 g
- 4 ounces cream cheese softened, 113 g
- 1/4 cup granulated sugar 50 g
- 1 large egg white
- 1/2 teaspoon vanilla extract
- 1/4 teaspoon kosher salt
Instructions
- Preheat the oven to 300°F (150°C). Line two large baking sheets with parchment paper.
- In a large mixing bowl, beat the butter and 1/2 cup (100 g) granulated sugar together until light in color, about 5 minutes.
- Add the egg yolk, 1 teaspoon vanilla extract, and red food coloring to the butter mixture, mixing until combined.
- In a separate bowl, whisk together the flour and cocoa powder. Gradually mix the dry ingredients into the wet mixture until a soft dough forms.
- Scoop the dough and shape it into 1-inch balls. Roll each ball in the coarse sugar to coat the outside.
- Place the dough balls 2 inches apart on the prepared baking sheets. Press a deep indentation into the center of each ball using the back of a measuring spoon or your thumb.
- Bake the cookies for 10 minutes. While they bake, prepare the filling by beating the cream cheese, 1/4 cup (50 g) granulated sugar, egg white, 1/2 teaspoon vanilla extract, and salt in a small bowl until smooth.
- Remove the cookies from the oven. If the indentations have puffed up, gently press them down again. Spoon 1 teaspoon of the cream cheese filling into the center of each cookie.
- Return the baking sheets to the oven and bake for another 10 to 12 minutes, or until the filling is set and reaches an internal temperature of 160°F (71°C) for food safety. Transfer the cookies to wire racks to cool completely.


