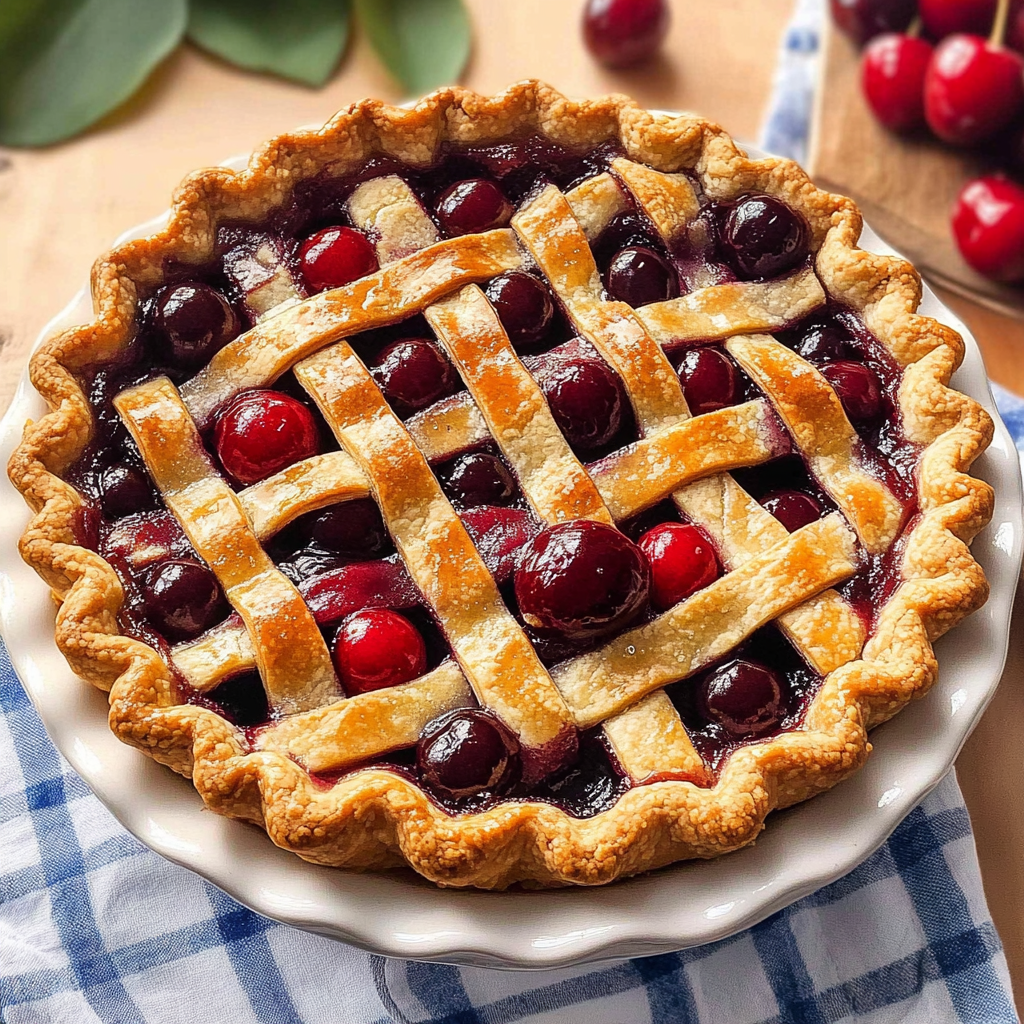
Classic Cherry Pie is the kind of dessert that dances on your taste buds and sings sweet melodies to your soul. Imagine biting into a flaky, golden crust that cradles a luscious filling bursting with tart cherries, their vibrant red hue glistening like little jewels in the sunlight. The aroma wafting from the oven is like a warm hug, embracing you with nostalgia and comfort. This isn’t just any pie; it’s an experience, reminiscent of summer picnics and family gatherings where laughter echoes.
Now, let me take you on a little journey down memory lane. Picture this: I was about seven years old, standing on my grandma’s kitchen stool, ready to tackle a new culinary adventure making Classic Cherry Pie. With flour dusted across my nose and cherry juice splattered like war paint on my cheeks, I felt invincible. Every slice served was met with applause from my family, and honestly, those moments still taste as sweet as the pie itself. Whether it’s a festive holiday or a sunny afternoon, this pie is perfect for any occasion and promises to be the star of your dessert table!
Why You'll Love This Recipe
- This Classic Cherry Pie offers simplicity in preparation while delivering a flavor that will have everyone begging for seconds.
- Its stunning visual appeal makes it the perfect centerpiece for any gathering or celebration.
- The versatility of this recipe allows you to experiment with different fruits or toppings based on your mood and pantry stock.
- It’s a crowd-pleaser that brings back cherished memories with every bite!
Ingredients for Classic Cherry Pie
Here’s what you’ll need to make this delicious dish:
- Fresh Cherries: About 4 cups of pitted fresh cherries are ideal for that authentic tart flavor. If fresh cherries are out of season, frozen ones work just as well!
- Sugar: Around 1 cup of granulated sugar balances the tartness of the cherries beautifully.
- Cornstarch: Use about ¼ cup for thickening the filling no one likes a soupy pie!
- Lemon Juice: A tablespoon adds brightness and enhances the cherry flavor.
- Pie Crust: You can make your own or use store-bought for convenience no judgment here!
- Butter: A couple of tablespoons cut into small pieces helps create a rich flavor in the filling.
The full ingredients list, including measurements, is provided in the recipe card directly below.
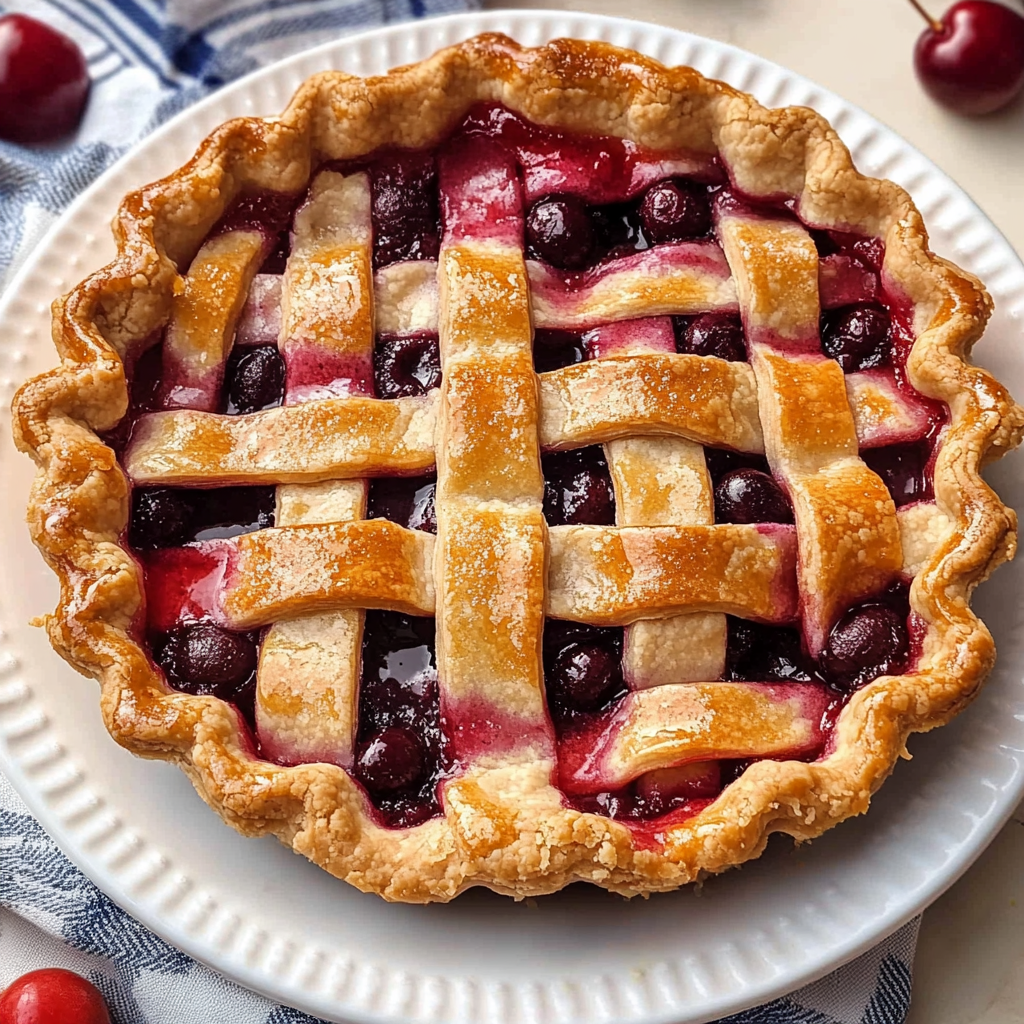
How to Make Classic Cherry Pie
Follow these simple steps to prepare this delicious dish:
Step 1: Preheat Your Oven
Preheat your oven to 425°F (220°C). Trust me; there’s nothing worse than having your pie crust sit around while waiting for that oven to heat up!
Step 2: Prepare Your Filling
In a large bowl, combine those lovely fresh cherries with sugar, cornstarch, and lemon juice. Toss gently until everything is well-coated this is where the magic begins!
Step 3: Roll Out Your Dough
If you’re using homemade pie crust (kudos to you!), roll out half onto a floured surface until it’s about an inch larger than your pie pan. Gently transfer it into your pan.
Step 4: Assemble Your Pie
Pour the cherry filling into the prepared crust evenly and dot with butter pieces on top. Then roll out the second half of your dough and cover that cherry goodness don’t forget to cut some slits for steam to escape!
Step 5: Bake It Up
Bake in your preheated oven for about 45-50 minutes or until it’s bubbly and golden brown. Keep an eye on it! If the edges start browning too quickly, cover them with foil.
Step 6: Cool and Serve
Let your pie cool for at least an hour before slicing; this helps set up that glorious filling. Serve each piece warm or at room temperature a scoop of vanilla ice cream never hurt anyone!
So there you have it the perfect Classic Cherry Pie recipe! It’s easy enough for beginners yet impressive enough to serve at dinner parties. Just remember to have fun while making it because cooking should always be an adventure filled with laughter and joy! Happy baking! For more inspiration, check out this Easter shortbread cookies recipe recipe.
You Must Know
- This classic cherry pie recipe is not just a dessert; it’s a slice of nostalgia.
- The sweet-tart cherries and flaky crust offer a delightful experience, perfect for any gathering.
- Whether served warm with ice cream or chilled, it’s bound to steal the show.
Perfecting the Cooking Process
Start by preparing your pie crust, allowing it to chill while you pit and prepare the cherries. Once your filling is mixed, roll out the crust, fill it with cherries, and bake until golden brown. Timing is everything for that perfect flaky finish.
Add Your Touch
Feel free to swap out some of the cherries for blueberries or raspberries for a mixed berry pie twist. You can also sprinkle in some almond extract for added depth or top it off with a crumbly streusel for extra crunch. delicious berry bliss pie.
Storing & Reheating
Store any leftover cherry pie at room temperature for up to two days. For longer storage, wrap it in plastic wrap and refrigerate for up to five days. Reheat individual slices in the microwave or enjoy cold.
Chef's Helpful Tips
- To achieve the best results with your classic cherry pie, ensure your cherries are perfectly ripe and sweet.
- A splash of lemon juice brightens flavors nicely.
- Remember to let your pie cool before slicing to avoid a messy serving!
I remember the first time I baked a cherry pie; my kitchen smelled like summertime bliss! My family devoured it so quickly that I barely got a slice myself, but their smiles said it all.
FAQs :
What is the best type of cherries for Classic Cherry Pie?
When making Classic Cherry Pie, it’s best to use tart cherries, such as Montmorency or Morello. These varieties offer the perfect balance of sweetness and acidity, enhancing the flavor of your pie. You can also use sweet cherries like Bing, but they may require additional sugar to achieve the desired taste. For convenience, many bakers opt for frozen cherries when fresh ones aren’t in season. Just remember to drain excess juice to prevent a soggy crust.
How do I prevent my Classic Cherry Pie from being soggy?
To avoid a soggy bottom crust in your Classic Cherry Pie, start by pre-baking the crust for about 10 minutes before adding the filling. Additionally, you can sprinkle a thin layer of cornstarch or flour on the bottom crust before filling it with cherries. This helps absorb excess moisture released during baking. Using firmer varieties of cherries can also contribute to keeping your pie from becoming too watery.
Can I make Classic Cherry Pie ahead of time?
Yes, you can prepare Classic Cherry Pie ahead of time! You can make the pie crust in advance and store it in the refrigerator or freezer until you’re ready to bake. You can also assemble the entire pie and refrigerate it for up to 24 hours before baking. This allows the flavors to meld together beautifully. If you want to freeze it, wrap it well in plastic wrap and foil; bake directly from frozen when ready.
How long should I bake my Classic Cherry Pie?
Bake your Classic Cherry Pie at 425°F (220°C) for about 15-20 minutes until the crust turns golden brown. Then reduce the temperature to 350°F (175°C) and continue baking for an additional 25-30 minutes. The filling should bubble and be thickened when done. To prevent over-browning, cover the edges with aluminum foil if necessary. Let it cool before serving so that the filling sets nicely.
Conclusion for Classic Cherry Pie :
Classic Cherry Pie is a delightful dessert that combines rich flavors with a flaky crust. By selecting the right cherries and following essential tips on crust preparation and baking time, you ensure a delicious treat every time. Whether enjoyed warm or cold, this pie is perfect for any occasion. creamy marshmallow cheesecake Remember to keep an eye on moisture levels and experiment with different cherry varieties to find your favorite version of this timeless classic. red velvet cheesecake recipe Enjoy each slice with friends and family! For more inspiration, check out this angel food cake recipe recipe.
Classic Cherry Pie
Classic Cherry Pie is a delightful dessert that encapsulates the flavors of summer with its sweet-tart cherry filling nestled in a flaky, golden crust. This timeless treat is perfect for family gatherings, celebrations, or simply satisfying your sweet tooth. Served warm with vanilla ice cream or at room temperature, each slice offers a burst of nostalgia and joy, making it an unforgettable addition to any dessert table.
- Prep Time: 20 minutes
- Cook Time: 50 minutes
- Total Time: 1 hour 10 minutes
- Yield: Serves approximately 8 slices 1x
- Category: Dessert
- Method: Baking
- Cuisine: American
Ingredients
- 4 cups fresh cherries (pitted)
- 1 cup granulated sugar
- ¼ cup cornstarch
- 1 tablespoon lemon juice
- 1 pie crust (store-bought or homemade)
- 2 tablespoons butter (cut into small pieces)
Instructions
- Preheat your oven to 425°F (220°C).
- In a large bowl, combine pitted cherries, sugar, cornstarch, and lemon juice; toss until well-coated.
- Roll out half of the pie crust and fit it into a pie pan.
- Pour the cherry filling into the prepared crust and dot with butter. Cover with the second half of the dough, cutting slits for steam to escape.
- Bake for 45-50 minutes until bubbly and golden brown. If edges brown too quickly, cover with foil.
- Let cool for at least an hour before slicing.
Nutrition
- Serving Size: 1 slice (105g)
- Calories: 280
- Sugar: 24g
- Sodium: 80mg
- Fat: 10g
- Saturated Fat: 6g
- Unsaturated Fat: 3g
- Trans Fat: 0g
- Carbohydrates: 44g
- Fiber: 2g
- Protein: 2g
- Cholesterol: 20mg




Leave a Comment