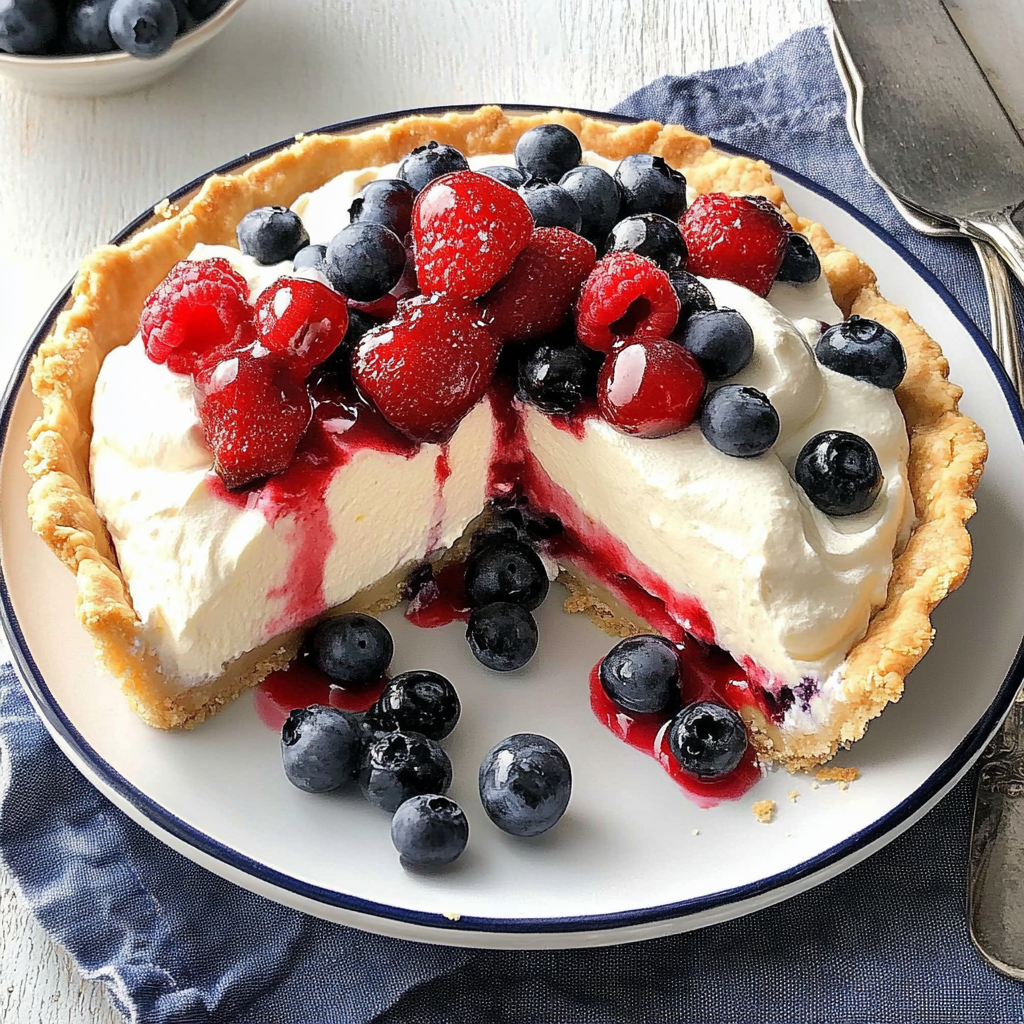
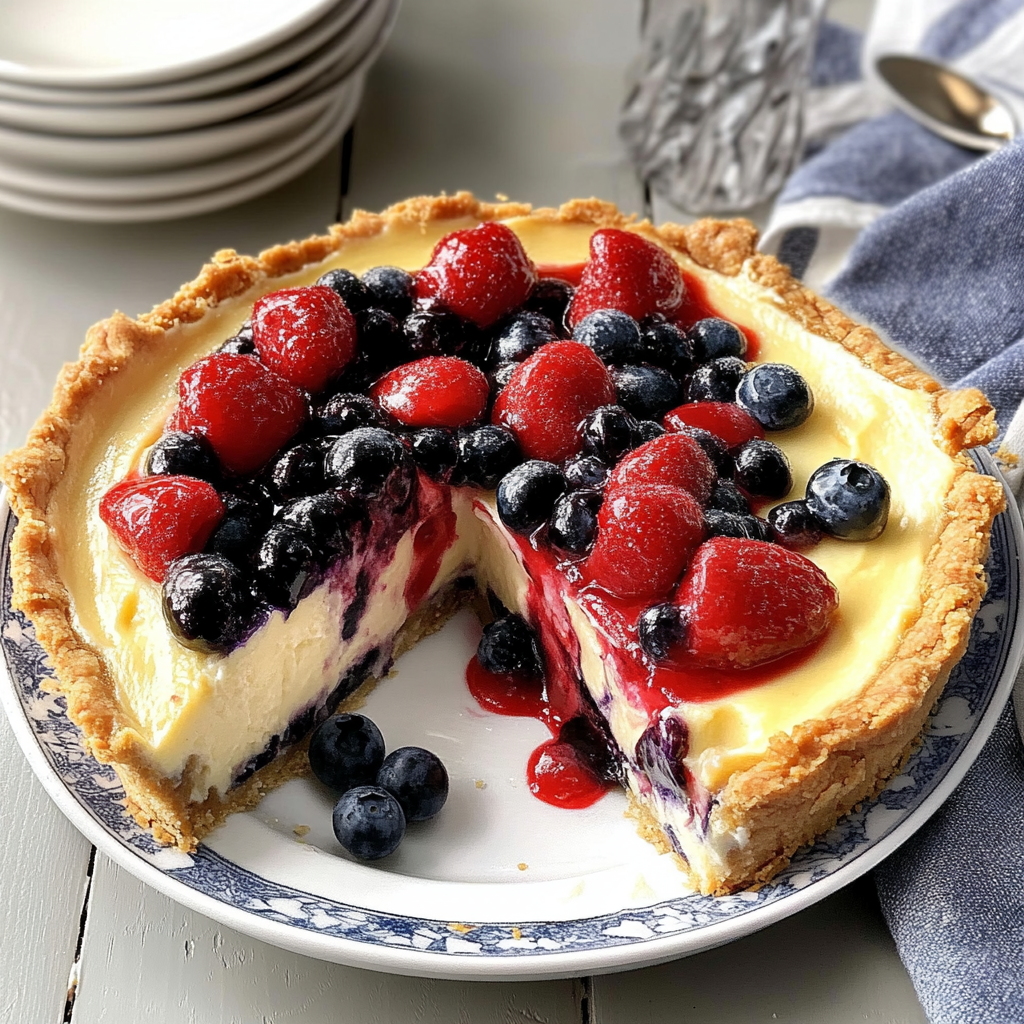
Berry Bliss Pie (Red, White & Blue) is the dessert that makes your taste buds dance like no one’s watching. Picture this: a buttery crust cradling a medley of luscious berries, crowned with fluffy whipped cream that beckons you to dive in. Banana Split Fluff Salad Cranberry Poke Cake Every bite bursts with sweet, tart flavors that sing summer, making it the ultimate treat for picnics or family gatherings.
Now, let me take you down memory lane. I remember my grandmother whipping up this Berry Bliss Pie every Fourth of July. The vibrant red strawberries and blue blueberries laid atop a snowy white layer of cream felt like a festive flag on our table. As kids, we would sneak bites before the pie even made it to the dessert table, giggling at how sticky our fingers got from the deliciousness.
Why You'll Love This Recipe
- This pie is incredibly simple to make, so anyone can impress their friends or family without spending hours in the kitchen.
- It features a delightful balance of sweet and tart flavors that will make your taste buds sing.
- The colorful layers create an eye-catching centerpiece for any occasion.
- You can easily customize it with different fruits or toppings based on your preference.
Ingredients for Berry Bliss Pie (Red, White & Blue)
For more inspiration, check out this Easter Shortbread Cookies recipe.
Here’s what you’ll need to make this delicious dish:
- Pre-made Pie Crust: Choose a quality store-bought pie crust for convenience or make your own if you’re feeling adventurous.
- Fresh Strawberries: Pick bright red strawberries; they should be firm and fragrant for optimal flavor.
- Fresh Blueberries: Go for plump blueberries with a deep blue color; they should pop in your mouth!
- Whipped Cream: Use homemade whipped cream for richness or store-bought if you’re short on time.
- Sugar: Granulated sugar enhances the sweetness of the berries; adjust based on your taste preferences.
The full ingredients list, including measurements, is provided in the recipe card directly below.

How to Make Berry Bliss Pie (Red, White & Blue)
Follow these simple steps to prepare this delicious dish:
Step 1: Preheat Your Oven
Preheat your oven to 350°F (175°C). If you’re using a frozen pie crust, let it thaw while the oven heats up.
Step 2: Prepare the Filling
In a mixing bowl, combine sliced strawberries and blueberries with sugar. Toss gently until all berries are coated evenly and set aside for about 10 minutes so they release their delicious juices.
Step 3: Assemble the Pie
Place the pre-made pie crust into a pie dish. Pour in the berry mixture evenly across the crust. Try not to eat all the berries before they get in there!
Step 4: Bake
Bake in your preheated oven for about 25-30 minutes until the crust is golden brown and the filling starts bubbling over just a bit this is where magic happens!
Step 5: Cool Down
Remove from oven and allow to cool at room temperature for at least an hour. This waiting period lets everything settle trust me; it’s worth it!
Step 6: Top with Whipped Cream
Just before serving, dollop generous amounts of whipped cream on top of your cooled pie; feel free to pile it high!
Transfer to plates and enjoy this summery delight that’s sure to have everyone asking for seconds!
You Must Know
- This Berry Bliss Pie (Red, White & Blue) is not just a dessert; it’s a celebration on a plate!
- With layers of luscious berries and a creamy filling, it steals the show at every gathering.
- Ideal for summer picnics or festive barbecues, this pie is as easy to make as it is delicious.
Perfecting the Cooking Process
Start by preparing the crust first, ensuring it cools completely. While it’s cooling, whip up your creamy filling. Finally, layer in the beautiful berries just before serving for that fresh pop of color and flavor.
Add Your Touch
Feel free to swap out the berries based on what’s in season or what you love best. You could even add a splash of lemon zest for an extra zing or use a different cream cheese flavor to mix things up.
Storing & Reheating
Keep any leftover Berry Bliss Pie (Red, White & Blue) covered in the fridge for up to three days. If you need to reheat, do so gently to avoid ruining that creamy texture microwave in short bursts. Creamy Marshmallow Cheesecake.
Chef's Helpful Tips
- To achieve the perfect crust, chill your dough thoroughly before rolling it out.
- This prevents shrinkage while baking.
- Always use fresh berries for optimal flavor and color vibrancy.
- Don’t overmix your filling; a few lumps will keep it light and fluffy!
Memories of last summer flood back every time I whip up this Berry Bliss Pie (Red, White & Blue). Orange Dreamsicle Salad Friends gathered around, raving about its heavenly taste one slice turned into two, then three!
FAQs :
What ingredients do I need for Berry Bliss Pie (Red, White & Blue)?
To make Berry Bliss Pie (Red, White & Blue), you’ll need a premade pie crust, fresh strawberries, blueberries, and whipped cream. Additionally, you may want to use sugar, cornstarch, and lemon juice to enhance the flavors of the berries. The combination of these ingredients creates a deliciously vibrant dessert that is perfect for summer gatherings or holiday celebrations. For more inspiration, check out this Angel Food Cake French Toast recipe.
How long does it take to prepare Berry Bliss Pie (Red, White & Blue)?
The total time required for preparing Berry Bliss Pie (Red, White & Blue) is approximately 30 minutes, not including chilling time. You will spend about 15 minutes on the preparation of the filling and another 15 minutes arranging the berries and adding whipped cream. Afterward, allow it to chill in the refrigerator for at least two hours to set properly before serving.
Can I use frozen berries for Berry Bliss Pie (Red, White & Blue)?
Yes, you can use frozen berries for your Berry Bliss Pie (Red, White & Blue). However, it’s essential to thaw them first and drain any excess liquid. This ensures that your pie maintains a desirable consistency without becoming too watery. Using frozen berries can be a convenient option when fresh fruits are out of season.
How should I store leftover Berry Bliss Pie (Red, White & Blue)?
Store any leftovers of your Berry Bliss Pie (Red, White & Blue) in an airtight container in the refrigerator. It will stay fresh for about 2-3 days. Ensure that you cover the pie with plastic wrap or foil to prevent it from absorbing any odors from the fridge. Enjoy it chilled for the best flavor experience!
Conclusion for Berry Bliss Pie (Red, White & Blue) :
In summary, making Berry Bliss Pie (Red, White & Blue) is simple and rewarding. This dessert requires fresh ingredients like strawberries and blueberries paired with whipped cream atop a flaky crust. It’s perfect for summer events or festive occasions. With just a little preparation time and proper storage techniques, you can enjoy this vibrant pie throughout the week. Delight your guests with this eye-catching treat that celebrates seasonal flavors!
Berry Bliss Pie (Red, White & Blue)
Berry Bliss Pie (Red, White & Blue) is the quintessential summer dessert that combines the vibrant flavors of fresh strawberries and blueberries atop a buttery pie crust, crowned with fluffy whipped cream. This easy-to-make pie captures the essence of festive gatherings and picnics, inviting everyone to indulge in its delightful sweetness. With its eye-catching colors and refreshing taste, this dessert not only satisfies your sweet cravings but also evokes cherished memories of sunny celebrations.
- Prep Time: 15 minutes
- Cook Time: 30 minutes
- Total Time: 45 minutes
- Yield: Serves 8 slices 1x
- Category: Dessert
- Method: Baking
- Cuisine: American
Ingredients
- 1 pre-made pie crust
- 2 cups fresh strawberries, hulled and sliced
- 1 cup fresh blueberries
- 1 cup whipped cream (homemade or store-bought)
- 1/4 cup granulated sugar
Instructions
- Preheat your oven to 350°F (175°C).
- In a bowl, combine strawberries and blueberries with sugar; let sit for 10 minutes to release juices.
- Place the pie crust in a dish and fill it with the berry mixture.
- Bake for 25-30 minutes until the crust is golden brown and filling bubbles slightly.
- Allow to cool for at least one hour before topping with whipped cream just before serving.
Nutrition
- Serving Size: 1 slice (100g)
- Calories: 230
- Sugar: 18g
- Sodium: 150mg
- Fat: 10g
- Saturated Fat: 6g
- Unsaturated Fat: 4g
- Trans Fat: 0g
- Carbohydrates: 33g
- Fiber: 2g
- Protein: 3g
- Cholesterol: 25mg


[…] with creamy goodness and adorned with cheerful toppings that make you feel like a kid again. berry bliss pie The flavors mingle together, creating a symphony of sweetness that dances on your taste buds and […]