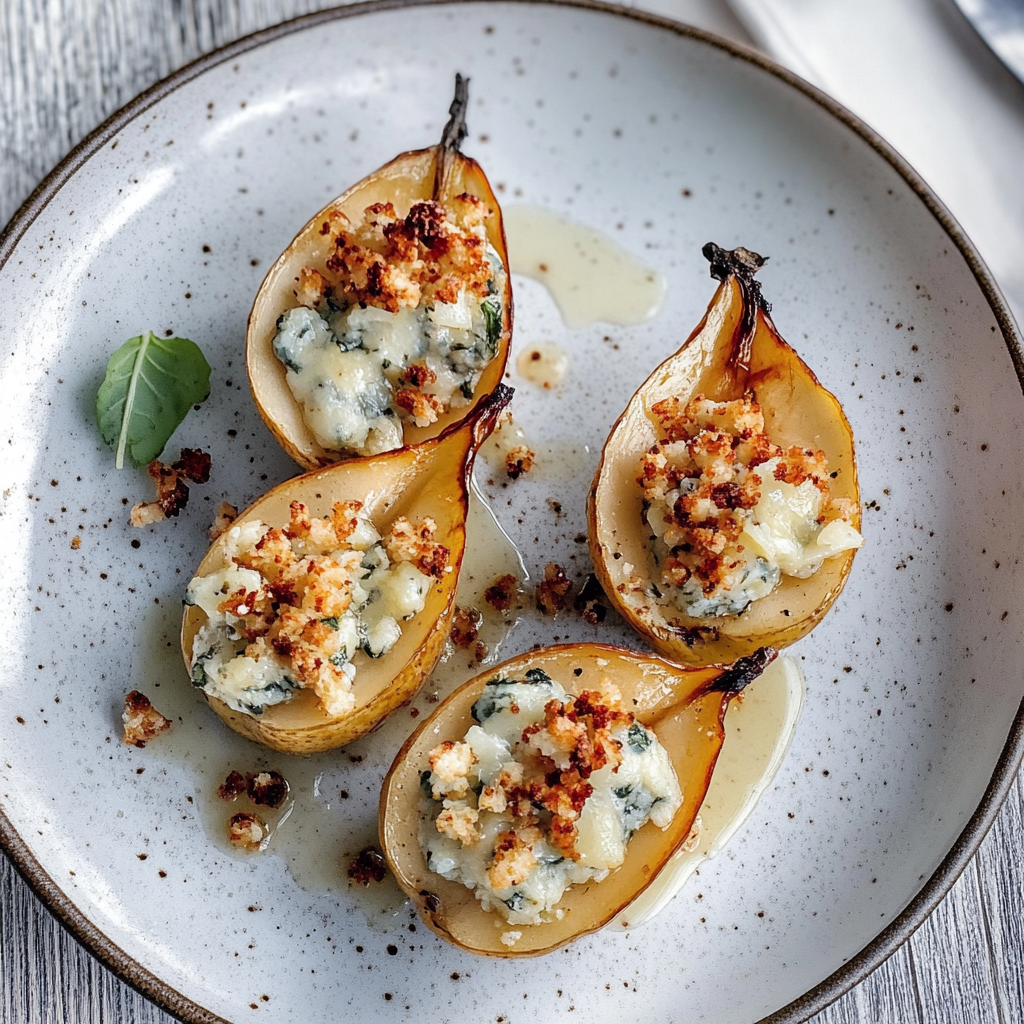
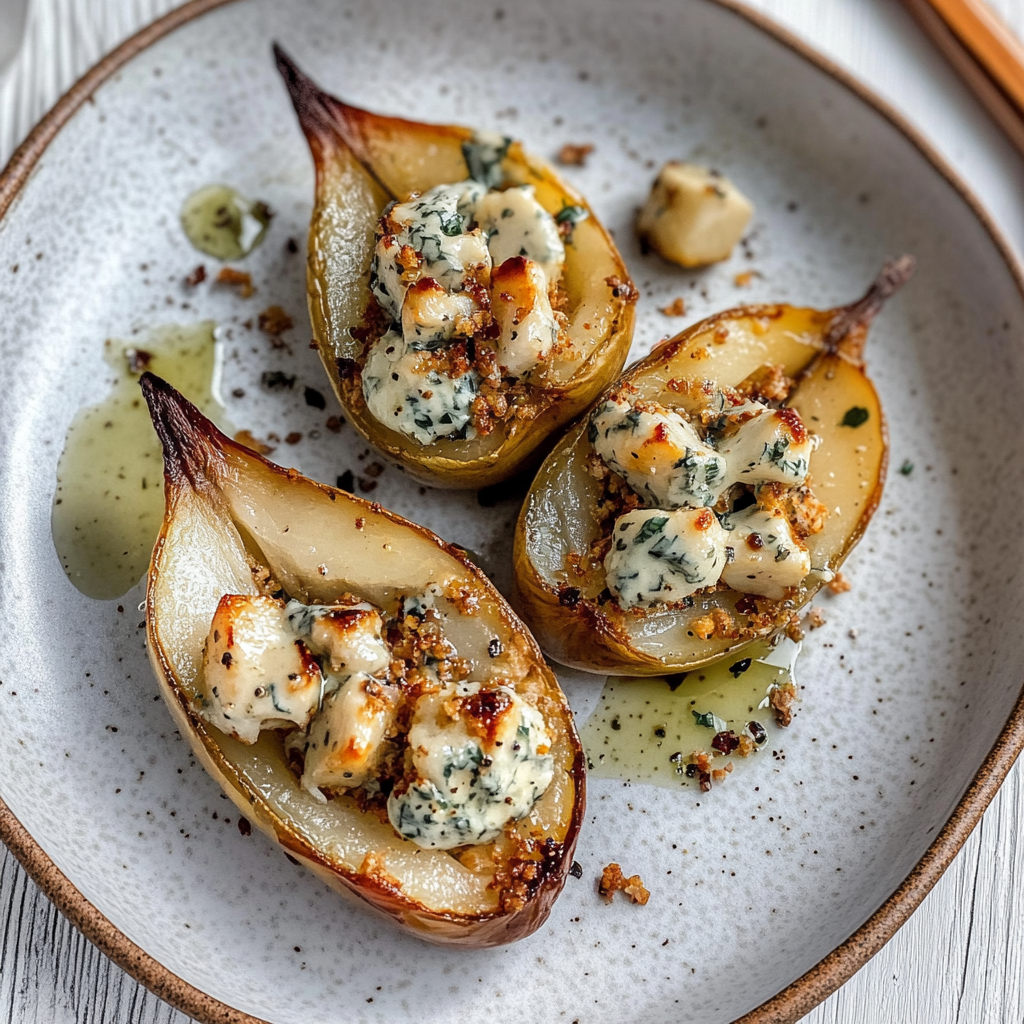
Stilton Stuffed Pears are like a cozy hug in a dish, where sweet meets savory in the most delightful manner. Imagine ripe pears, their luscious flesh yielding to your fork, generously filled with rich Stilton cheese that melts just right, creating an explosion of flavors and textures. maple roasted brussel sprouts.
As you bite into these heavenly morsels, the creamy saltiness of the Stilton perfectly complements the natural sweetness of the pears, making them an irresistible treat for any occasion. Whether you’re hosting a fancy dinner party or simply treating yourself after a long day, this dish promises to elevate your culinary experience.
Why You'll Love This Recipe
- These Stilton Stuffed Pears are as easy to make as they are delicious.
- The flavor combination is utterly divine and will impress your guests.
- Their stunning presentation makes them perfect for any festive table.
- Enjoy them as an appetizer or a light dessert—versatile enough for any meal!
Ingredients for Stilton Stuffed Pears
Here’s what you’ll need to make this delicious dish:
- Ripe Pears: Choose firm yet slightly soft pears for optimal sweetness and texture; Bosc or Anjou varieties work well.
- Stilton Cheese: Look for creamy and crumbly Stilton; it adds depth and richness to the filling.
- Walnuts: Chopped walnuts add a delightful crunch; toast them lightly for extra flavor.
- Honey: A drizzle of honey enhances the natural sweetness of the pears and balances the saltiness of the cheese.
- Fresh Thyme: This aromatic herb brings freshness to the dish; use fresh leaves for the best flavor.
The full ingredients list, including measurements, is provided in the recipe card directly below.

How to Make Stilton Stuffed Pears
Follow these simple steps to prepare this delicious dish:
Step 1: Preheat Your Oven
Start by preheating your oven to 375°F (190°C). Line a baking dish with parchment paper to make cleanup easier.
Step 2: Prepare Your Pears
Cut each pear in half lengthwise and scoop out the core using a melon baller or spoon. Be careful not to go too deep; you want enough flesh left for structure.
Step 3: Mix Your Filling
In a bowl, combine crumbled Stilton cheese, chopped walnuts, honey, and fresh thyme leaves. Mash everything together until well mixed but still chunky.
Step 4: Stuff Those Pears
Generously fill each pear half with your delicious Stilton mixture. Don’t be shy; pile it on like it’s going out of style.
Step 5: Bake
Place your stuffed pears in your prepared baking dish and bake them in the preheated oven for about 25-30 minutes or until they are tender and bubbly.
Step 6: Serve Up
Carefully transfer your baked pears onto plates. Drizzle with additional honey if desired and garnish with extra thyme leaves for that chef-y touch.
Serve warm as an appetizer or light dessert. These Stilton Stuffed Pears will leave everyone asking for seconds—just don’t forget to save some for yourself!
You Must Know
- Stilton stuffed pears are not just a culinary treat; they’re a delightful journey for your taste buds.
- The sweet, juicy pears pair perfectly with the rich, tangy Stilton cheese, making this dish an elegant appetizer or dessert that wows guests every time.
Perfecting the Cooking Process
To achieve the best results with Stilton stuffed pears, start by preheating your oven. While it warms up, prepare your pears by slicing them in half and scooping out the centers. Then fill each pear half generously with Stilton before baking until golden and bubbly. For more inspiration, check out this Grilled Salmon with Avocado recipe.
Add Your Touch
Feel free to customize your Stilton stuffed pears by adding walnuts or pecans for crunch. Drizzling honey or balsamic glaze over the top can elevate the flavors even more. You can also swap Stilton for other blue cheeses if you prefer a different taste experience.
Storing & Reheating
Store any leftover Stilton stuffed pears in an airtight container in the refrigerator for up to three days. To reheat, place them in a preheated oven at 350°F until warmed through. This will keep the flavors intact while ensuring they don’t turn mushy.
Chef's Helpful Tips
- When preparing Stilton stuffed pears, ensure you choose ripe but firm pears to hold their shape during baking.
- A spoonful of cream cheese mixed with Stilton can add extra creaminess.
- For an impressive presentation, serve them on a bed of arugula drizzled with balsamic reduction.
Sometimes when I serve these Stilton stuffed pears at dinner parties, guests ask if they can take leftovers home—who knew cheese and fruit could spark such excitement?
FAQs:
What are Stilton Stuffed Pears?
Stilton stuffed pears are a delightful appetizer that combines the rich, creamy flavor of Stilton cheese with the sweet juiciness of fresh pears. This dish is typically prepared by hollowing out ripe pears and filling them with a mixture of crumbled Stilton cheese, walnuts, and sometimes honey or herbs. pair it with honey cake They make for an elegant presentation and can be served warm or cold, making them perfect for any occasion.
How do I choose the right pears for Stilton Stuffed Pears?
When selecting pears for Stilton stuffed pears, opt for firm yet ripe varieties such as Bartlett or Bosc. These types have a good balance of sweetness and texture, which complements the strong flavor of Stilton cheese. Look for pears that yield slightly when pressed at the stem end but still retain their shape. Avoid overly soft or bruised fruits to ensure your dish has the best flavor and presentation.
Can I serve Stilton Stuffed Pears at parties?
Absolutely! Stilton stuffed pears are an excellent choice for parties and gatherings. Their stunning appearance and unique flavor profile make them a crowd-pleaser. You can serve them as an appetizer or a light dessert. festive mince pies For a festive touch, consider drizzling some balsamic reduction over the top or garnishing with fresh herbs to elevate their presentation.
What wine pairs well with Stilton Stuffed Pears?
Pairing wine with Stilton stuffed pears can enhance your dining experience. A sweet dessert wine like Sauternes or a crisp white like Sauvignon Blanc works beautifully with the flavors of the dish. The sweetness of the wine complements the richness of the cheese while balancing the natural sweetness of the pears. For red wine enthusiasts, a light-bodied Pinot Noir offers a lovely contrast without overpowering this elegant appetizer.
Conclusion for Stilton Stuffed Pears:
In summary, Stilton stuffed pears are a fantastic way to enjoy the combination of sweet and savory flavors in one elegant dish. By choosing ripe pears and high-quality Stilton cheese, you will create an unforgettable appetizer perfect for any gathering. serve alongside roast goose Feel free to customize your stuffing mix with nuts or honey to suit your taste preferences. Serve these delightful bites at your next event, and watch them disappear quickly!
Stilton Stuffed Pears
Stilton Stuffed Pears are a luxurious blend of sweet and savory, featuring juicy pears filled with creamy Stilton cheese and crunchy walnuts, all enhanced by a drizzle of honey. This elegant dish is perfect as an appetizer or light dessert for dinner parties and gatherings. Easy to prepare yet stunning in presentation, these stuffed pears will surely impress your guests and tantalize their taste buds.
- Prep Time: 10 minutes
- Cook Time: 30 minutes
- Total Time: 40 minutes
- Yield: Serves 4 (2 pear halves per serving) 1x
- Category: Appetizer/Dessert
- Method: Baking
- Cuisine: American
Ingredients
- 4 ripe pears (Bosc or Anjou)
- 1 cup crumbled Stilton cheese
- 1/2 cup chopped walnuts (toasted)
- 2 tbsp honey
- 1 tbsp fresh thyme leaves
Instructions
- Preheat oven to 375°F (190°C) and line a baking dish with parchment paper.
- Halve the pears lengthwise and scoop out the core while retaining some flesh.
- In a bowl, mix Stilton cheese, walnuts, honey, and thyme until combined.
- Generously fill each pear half with the mixture.
- Arrange pears in the baking dish and bake for 25-30 minutes until tender.
- Serve warm, optionally drizzled with more honey and garnished with thyme.
Nutrition
- Serving Size: 1 stuffed pear half (80g)
- Calories: 210
- Sugar: 14g
- Sodium: 300mg
- Fat: 12g
- Saturated Fat: 6g
- Unsaturated Fat: 5g
- Trans Fat: 0g
- Carbohydrates: 22g
- Fiber: 3g
- Protein: 6g
- Cholesterol: 15mg


Leave a Comment